Healthy Cottage Cheese Ice Cream (Ninja Creami Recipe)
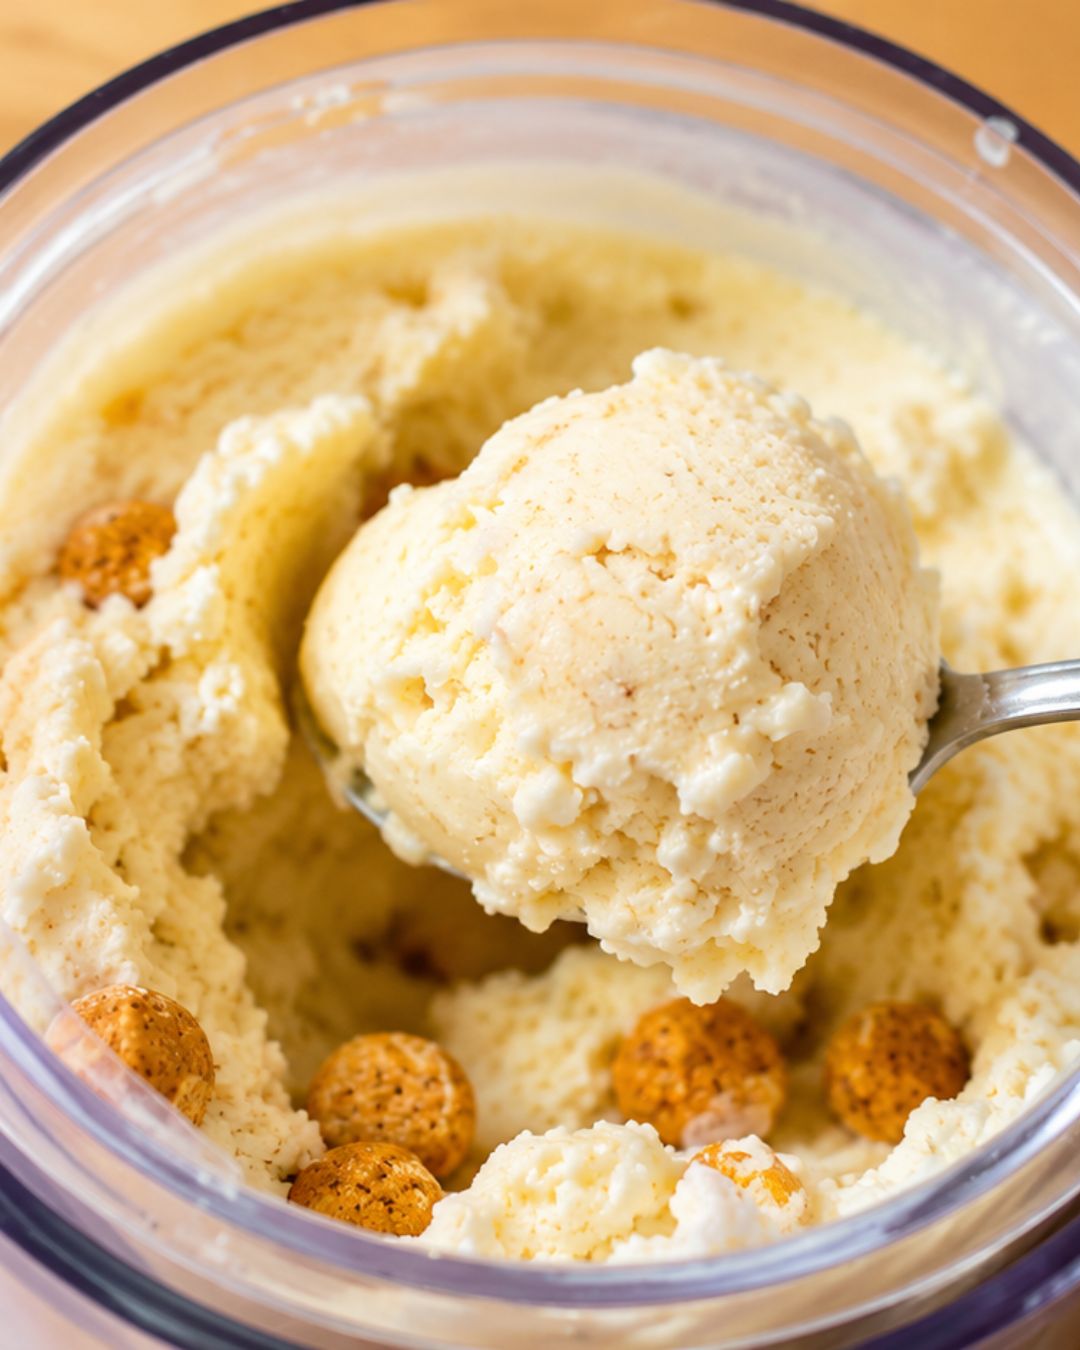
If you’re looking for a healthier ice cream that doesn’t taste like “diet food,” you’ve come to the right place. This homemade Ninja Creami cottage cheese ice cream is incredibly creamy, naturally high in protein, and made with simple ingredients you probably already have in your kitchen.
Unlike many high-protein ice cream recipes that rely on protein powders or instant pudding mixes, this recipe uses a homemade custard base combined with Greek yogurt and cottage cheese. The result is a rich, creamy texture that’s surprisingly close to premium ice cream—but with fewer calories and much more protein.
The best part? You can’t taste the cottage cheese at all.
Whether you’re trying to eat more protein, reduce ultra-processed foods, or simply enjoy a healthier dessert, this recipe deserves a spot in your Ninja Creami collection.
Why You’ll Love This Recipe
- Creamy, scoopable ice cream with an authentic texture
- High in protein without using protein powder
- Made with real, wholesome ingredients
- No instant pudding mix or artificial thickeners
- Lower in calories than traditional ice cream
- Easy to customize with your favorite flavors and mix-ins
Why This Recipe Works
Many cottage cheese ice cream recipes blend cottage cheese with milk and sweetener before freezing. While that can work, the texture often ends up slightly icy or leaves a noticeable cottage cheese flavor.
This recipe starts with a simple homemade custard.
Cooking the egg, milk, and cornstarch creates a smooth, stable base that freezes beautifully. Once cooled, it’s blended with cottage cheese (or Greek yogurt if you prefer), giving you an ice cream that’s rich, creamy, and packed with protein without tasting overly tangy.
The cottage cheese blends seamlessly into the custard, adding nutrition while disappearing into the final flavor.
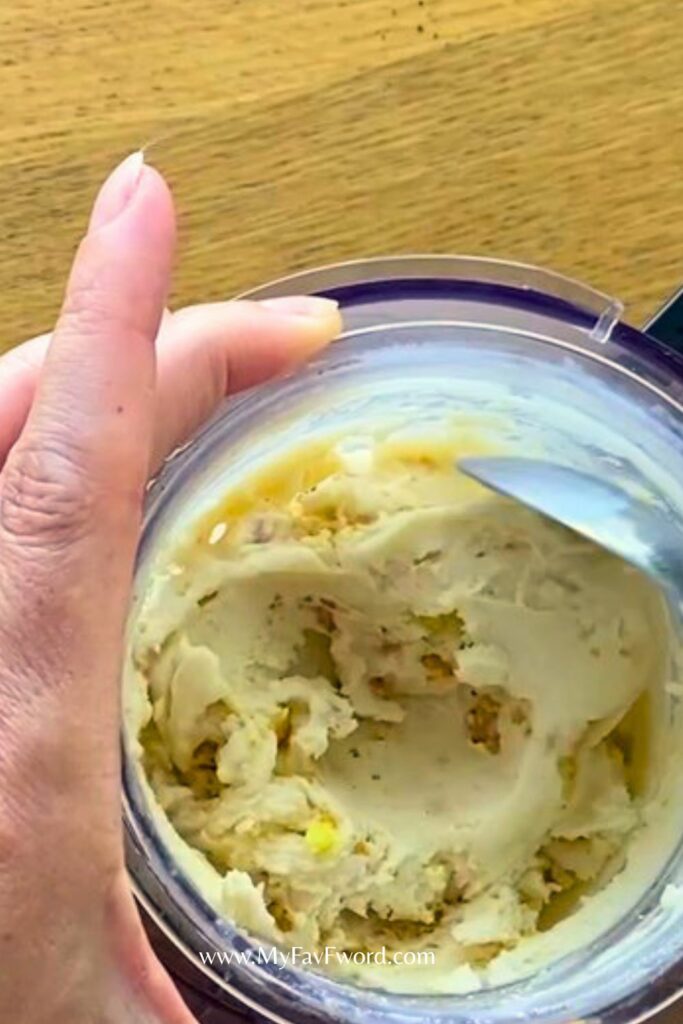
Ingredients
Ice Cream Base
- 1 large egg
- ⅓ cup (65g) monk fruit sweetener (or sweetener of choice)
- 1–2 tablespoons cornstarch (15–30g)
- 12 oz (335g) 2% milk
- ¾ cup – 1 cup (170g – 245g) 2% cottage cheese
- (Optional: 1 teaspoon vanilla extract)
Optional Mix-Ins
- High-protein cereal, or any cereal
- Chocolate chips
- Crushed graham crackers
- Cinnamon pita chips
- Chopped nuts
- Fresh fruit
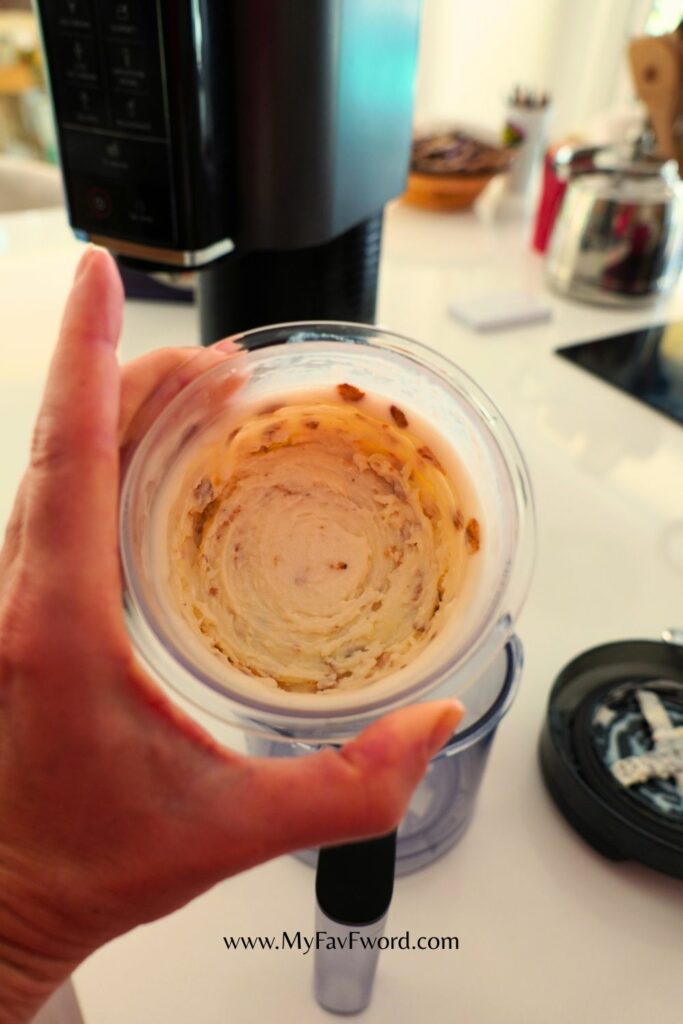
How to Make Cottage Cheese Ice Cream
Step 1: Heat the Milk
Warm the milk in a saucepan over medium heat until it is hot but not boiling.
Step 2: Prepare the Custard
Whisk together the egg, sweetener, vanilla (if using), and cornstarch until smooth.
Slowly pour some of the hot milk into the egg mixture while whisking continuously to temper the eggs.
Gradually whisk in the remaining milk.
Return everything to the saucepan.
Cook over medium-low heat while stirring constantly until the custard thickens and begins to bubble lightly.
Remove from the heat and allow it to cool completely.
Step 3: Blend
Add the cooled custard to a blender or use an immersion blender.
Blend together with the cottage cheese until completely smooth. Taste it. It should taste sweeter than you like. Once the ice cream freezes it will lose some of the sweetness. You can add some more sweetness – I usually add 1 or 2 tablespoons of flavored skinny syrup.
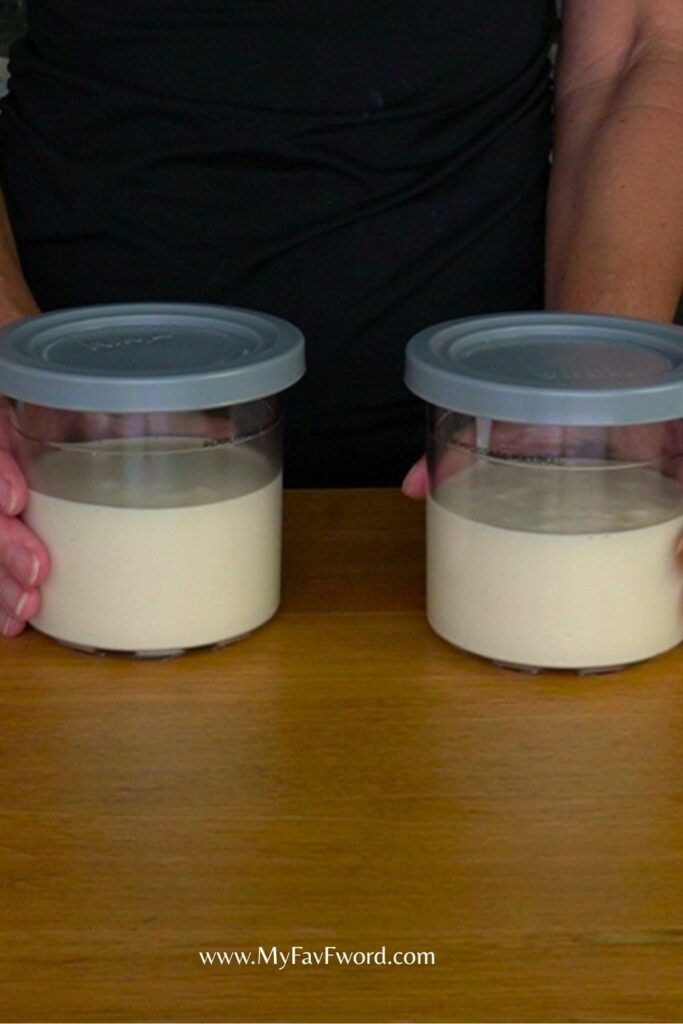
Divide the mixture between two Ninja Creami pint containers.
Freeze for at least 12 hours, preferably 24 hours.
Step 4: Spin
Remove a frozen pint from the freezer.
Run the outside of the container under warm water for about one minute.
Place it into the Ninja Creami.
Select the Sorbet setting.
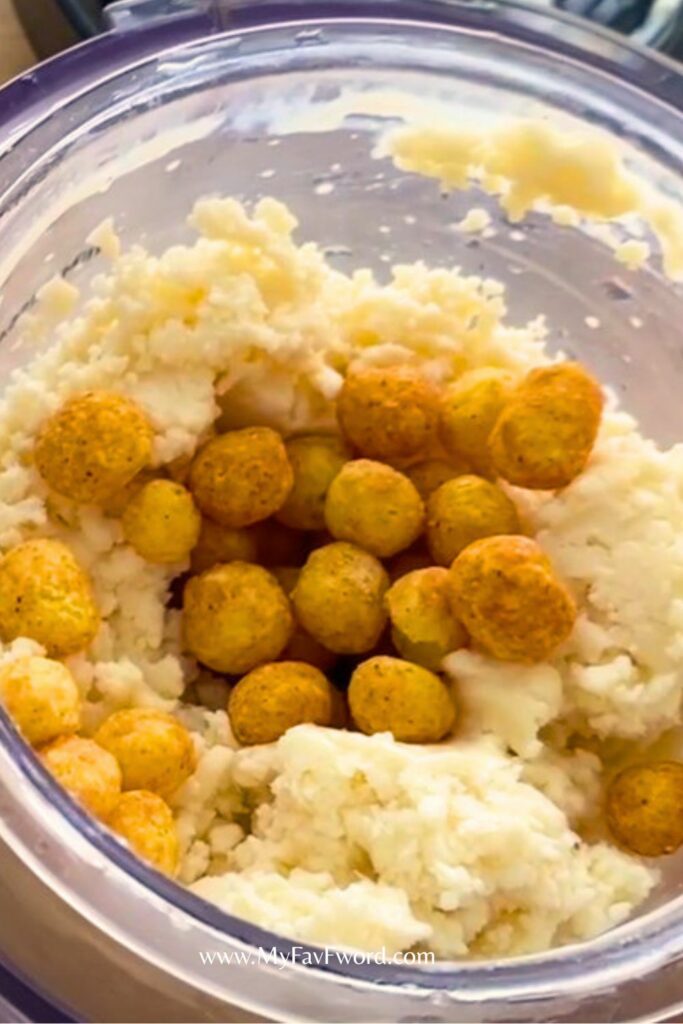
Step 5: Add Mix-Ins
Create a small well in the center of the ice cream.
Add your favorite toppings.
Run the Mix-In cycle.
Serve immediately.
Why I Use the Sorbet Setting
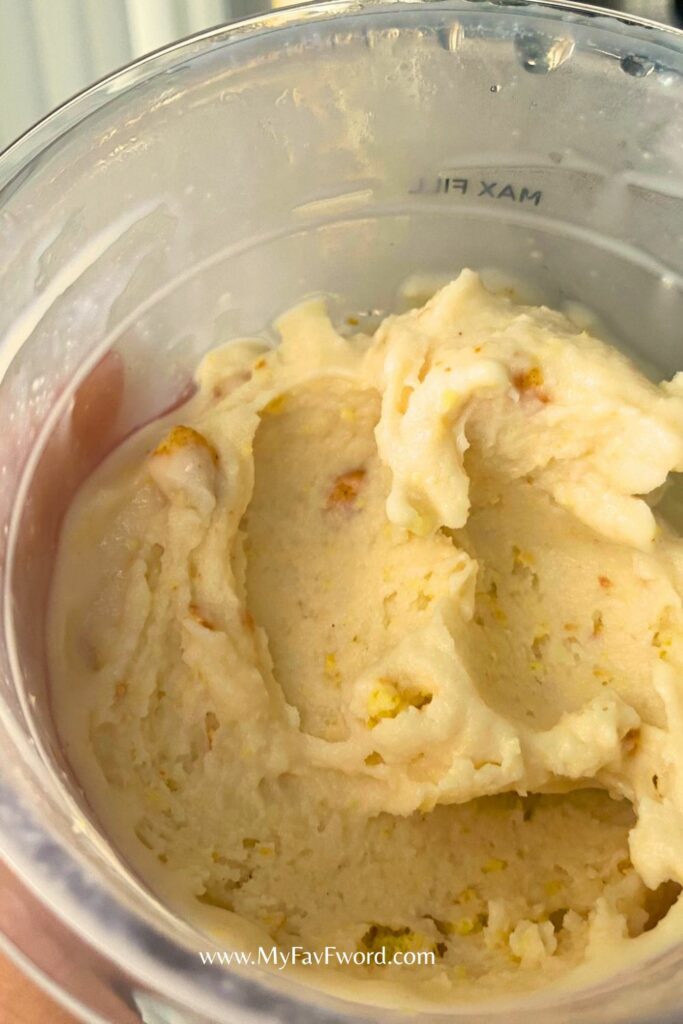
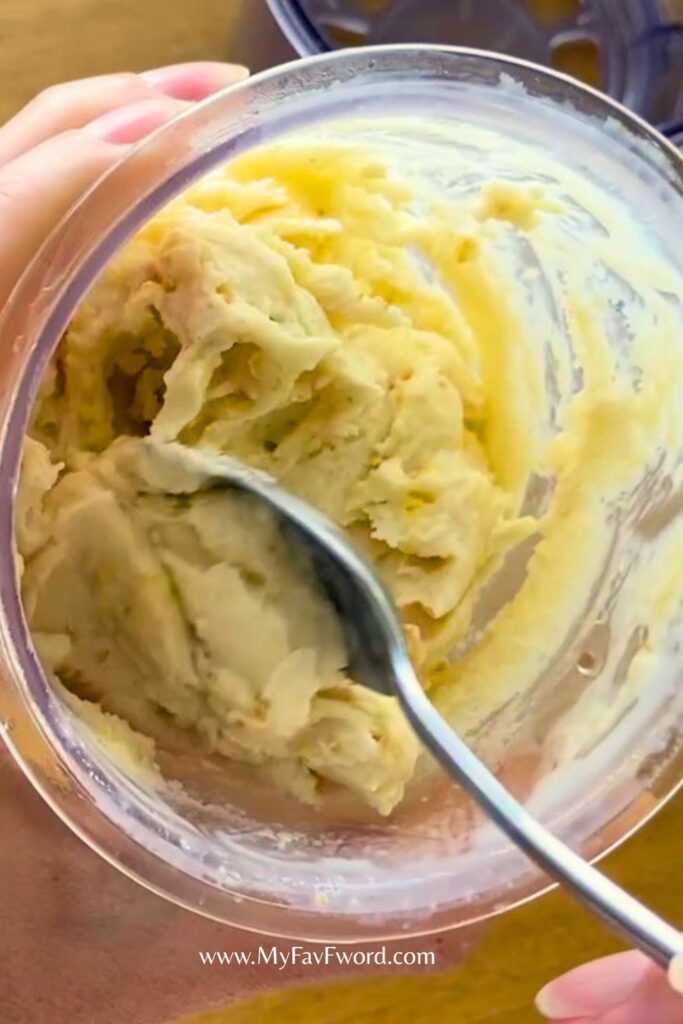
Although this isn’t technically a sorbet, the lower fat content means the Sorbet program produces a smoother texture than the standard Ice Cream setting.
It’s worth trying both, but Sorbet consistently gives me the creamiest results.
Don’t Skip the Warm Water
Running the pint under warm water for about a minute softens the outside just enough for the Ninja Creami to shave it properly.
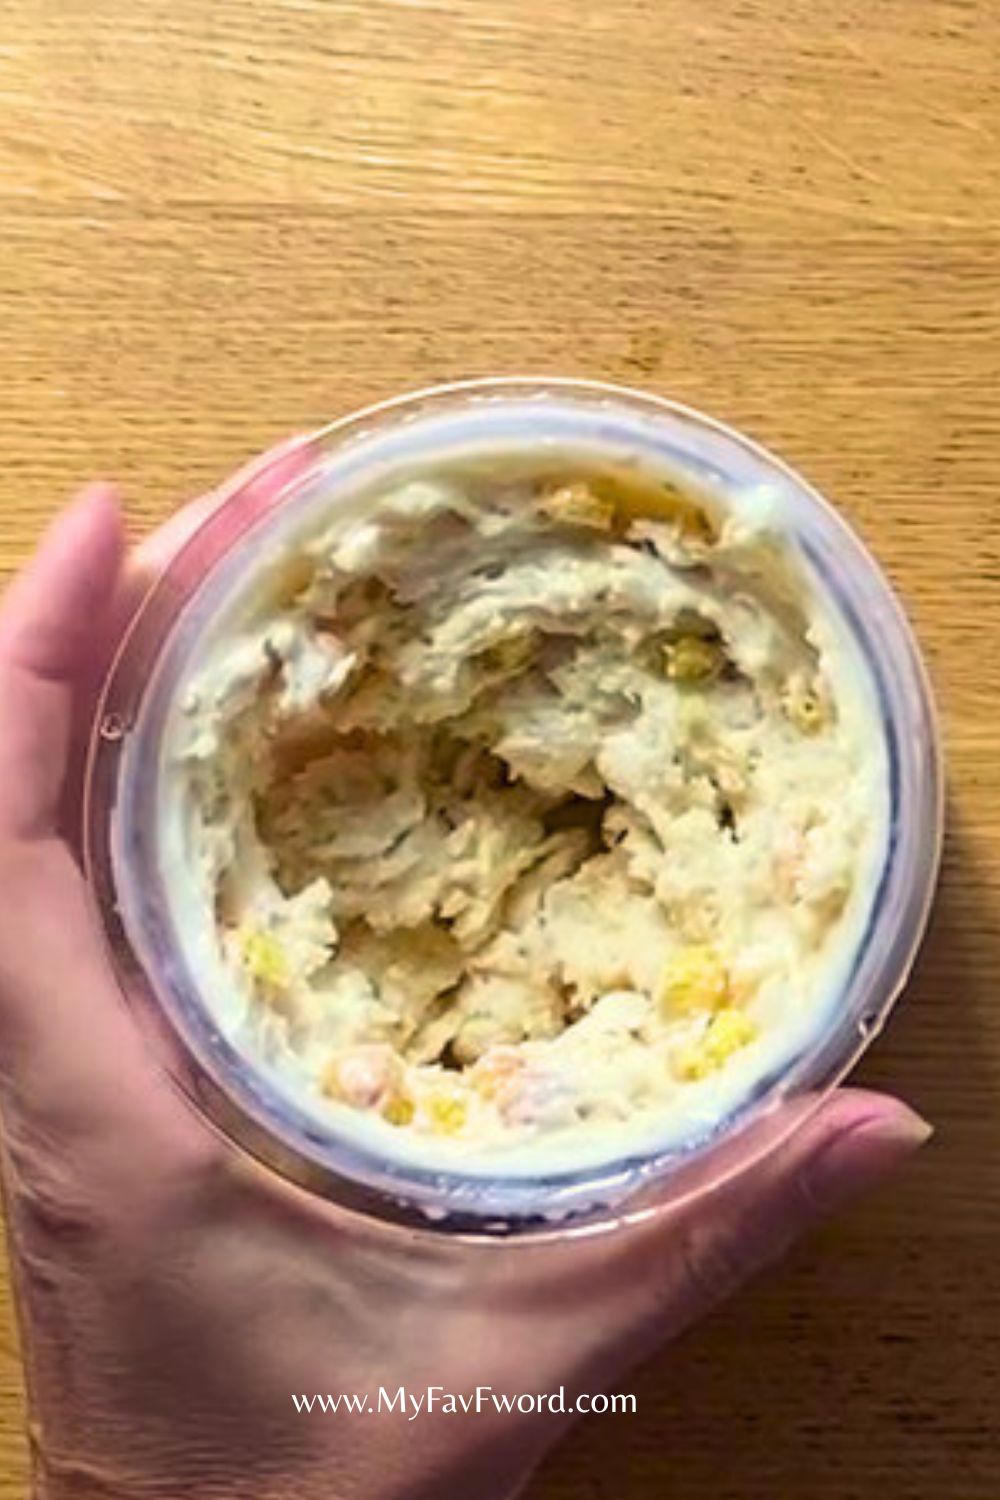
If you skip this step, your ice cream may come out looking dry and powdery instead of creamy.
If that happens, simply run a Re-Spin cycle.
Sometimes a second Re-Spin is all it needs.
Flavor Ideas
Once you have the base recipe, the possibilities are endless.
Try adding:
- Strawberries
- Blueberries
- Peaches
- Peanut butter powder
- Espresso powder
- Cocoa powder
- Mint extract
- Lemon zest
- Cinnamon
- Pumpkin spice
Tips for the Best Texture
- Freeze the base for at least 12 hours.
- Twenty-four hours produces even better results.
- Always run warm water over the container before spinning.
- Don’t overfill your pint.
- Add crunchy mix-ins after the first spin.
- If the texture looks dry, simply Re-Spin.
Frequently Asked Questions
Can I taste the cottage cheese?
No.
Once blended into the custard, the cottage cheese flavor completely disappears.
Can I use another sweetener?
Yes.
Any granulated sweetener that measures like sugar should work.
Adjust the sweetness to your taste.
Can I make this without a Ninja Creami?
The recipe is specifically designed for the Ninja Creami.
A standard ice cream maker or freezing it in a container without churning won’t produce the same creamy texture.
For ice cream recipes that do not require Ninja Creami check these out:
Yogurt Ice Cream – Coffee Chocolate Chip
Healthy Coconut Homemade Ice Cream
Can I use flavored Greek yogurt?
Yes.
Just keep in mind it will change both the sweetness and nutrition of the final ice cream.
Final Thoughts
This has quickly become one of my favorite Ninja Creami recipes because it strikes the perfect balance between nutrition and flavor. It’s creamy, satisfying, naturally high in protein, and made with simple ingredients instead of highly processed mixes.
If you’ve been searching for a healthier ice cream that still feels like a real treat, give this recipe a try. Once you taste it, you may never go back to store-bought protein ice cream.
Nutritional Information
Nutrition will vary depending on the sweetener and mix-ins used.
Recipe Yield: 2 Ninja Creami pints
Healthy Cottage Cheese Ice Cream (Ninja Creami)
Ingredients
Method
- Heat the milk in a medium saucepan over medium heat until hot but not boiling.
- In a bowl, whisk together the egg, sweetener, vanilla (if using), and cornstarch until smooth.
- Slowly whisk some of the hot milk into the egg mixture to temper the eggs.
- Gradually whisk in the remaining hot milk.
- Return everything to the saucepan.
- Cook over medium-low heat, stirring constantly, until the custard thickens and begins to bubble lightly.
- Remove from the heat and let the custard cool completely.
- Blend the cooled custard together with the Greek yogurt until smooth using an immersion blender or food processor.
- Divide the mixture evenly between two Ninja Creami pint containers.
- Freeze for 12–24 hours.
- Remove a pint from the freezer and run it under warm water for about one minute.
- Process using the Sorbet setting on the Ninja Creami.
- If adding mix-ins, make a small well in the center, add your toppings, and run the Mix-In cycle.
- If the ice cream looks dry or powdery, simply run one or two Re-Spin cycles until creamy.
- Serve immediately.
Video
Notes
- The Sorbet setting produces the creamiest texture for this lower-fat recipe.
- Running the pint under warm water before spinning makes a huge difference in texture.
- If the ice cream appears powdery after the first spin, use the Re-Spin function. It usually becomes perfectly creamy after one or two additional spins.
- Feel free to customize with fruit, cocoa powder, cinnamon, espresso powder, or your favorite crunchy mix-ins.
🛒 Kitchen Tools Used for This Recipe
These are the kitchen tools I used to make this recipe.
✅ Stainless steel measuring spoons
✅ Stainless steel measuring cups
GUILT FREE DESSERT RECIPES
NO BAKE YOGURT STRAWBERRY CHEESECAKE
COFFEE CHOCOLATE CHIP YOGURT ICE CREAM
*Links in this blog post are affiliate links, which means at no extra cost to you, I will make a small commission if you click them and make a qualifying purchase*