
Overnight No Knead Bread
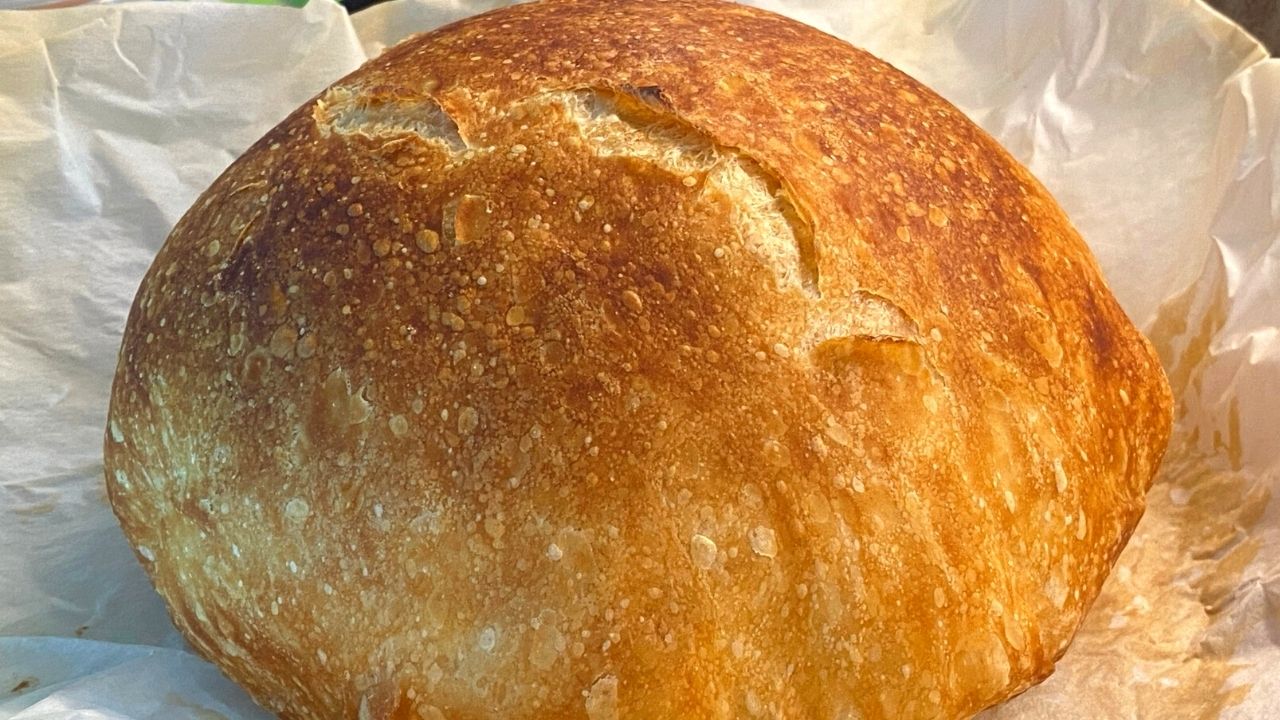
Bread for me is one of the life’s biggest pleasures. And this no knead bread is up there on my list. It is so easy to make and requires almost no work, you would not believe that it comes out looking and tasting like you spend days preparing the dough.
Wait or not to wait…
The key to the process is not to ever wait for the dough to rise. Hmmm…. You are probably wondering what I am talking about?
Waiting in my book means you sit impatiently and waiting for the bread to rise, then some more for the second rise… it could be a grueling process. And I am not that patient, especially when it comes to food and eating. So I came up with a way to incorporate the dough making and waiting process into my existing routine. That way, I do not ever wait for the dough to rise, it just rises when I go about my day.
Make sure you watch the video to see my step by step process of making no knead bread in action:
How long should no knead bread rise?
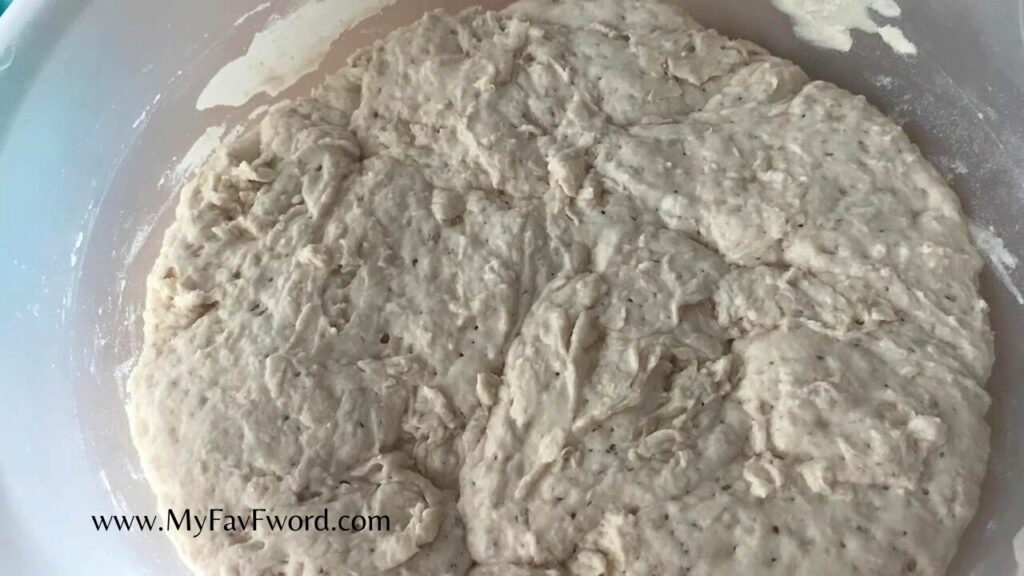
No knead bread should rise for at least 12 hours in room temperature, so it is a perfect dough to prepare a night before and have it ready in the morning. I let it rise for 12 to 16 hours and have been getting the same great results.
After the first long rise, the dough needs to be shaped in a ball and left for a second rise – an hour to an hour and a half.
I actually prefer the overnight process as I do not have to wait for the bread to rise, it just rises when I go about my day and it is ready when I am ready to eat.
What will you need to make no knead bread
There are very few ingredients needed
- All purpose or bread flour
- Dry active yeast
- Sea salt or regular salt
- Water
The equipment needed
- dutch oven pot – this is my favorite way to bake the bread as the pot keeps the bread in shape. This dough is very soft and if just left alone on its own, it may become a pancake. You can still bake the bread without the pot but it will have less of a round shape. You can also shape baguettes out of the dough – see this No Knead French Baguettes Bread without Dutch Oven video.
- plastic bowl
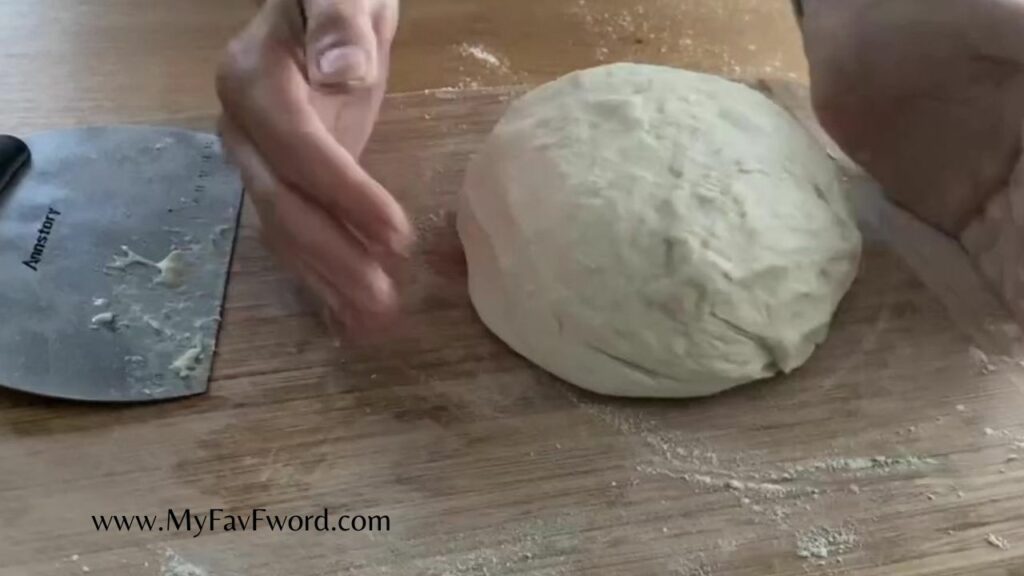
- dough scraper – not required but very useful
- parchment paper – will help the dough from sticking to the pot
How to make no knead bread – dutch oven method
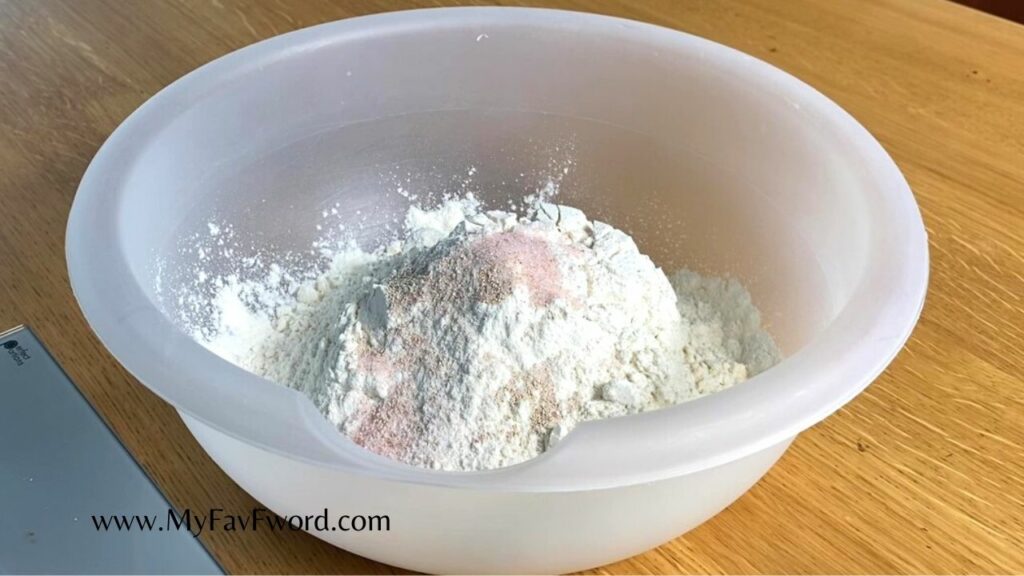
Prepare the dough a day before baking.
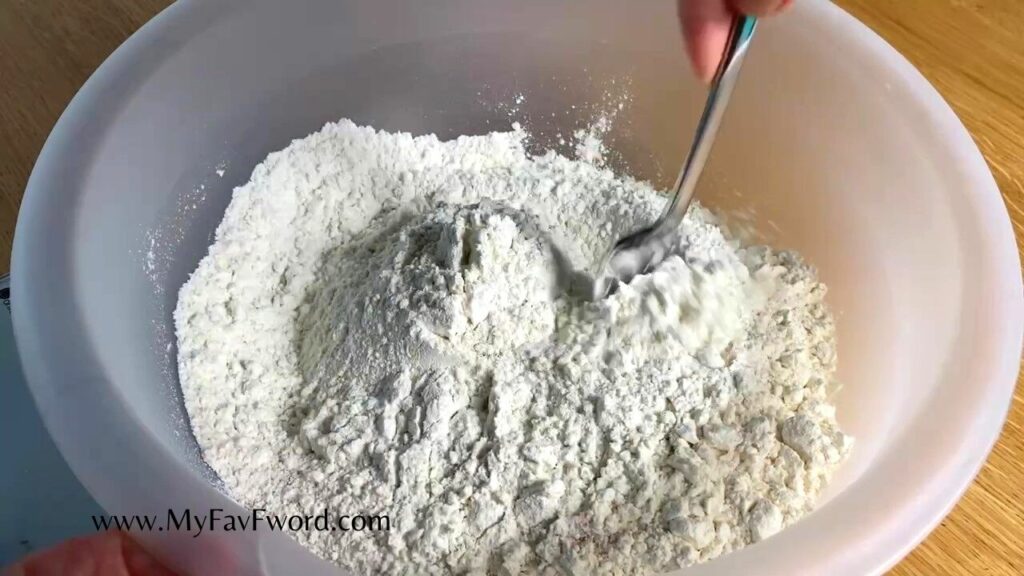
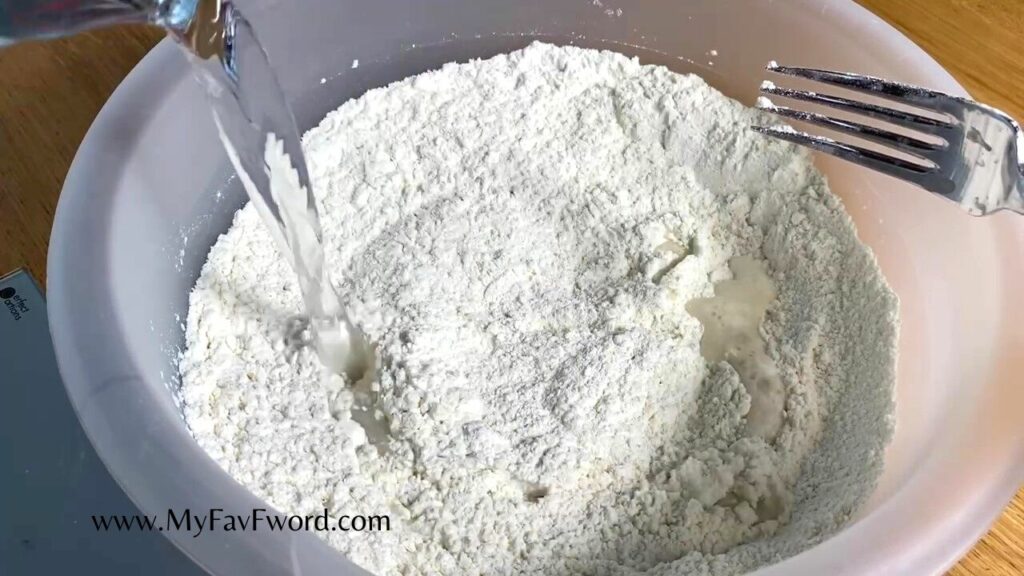
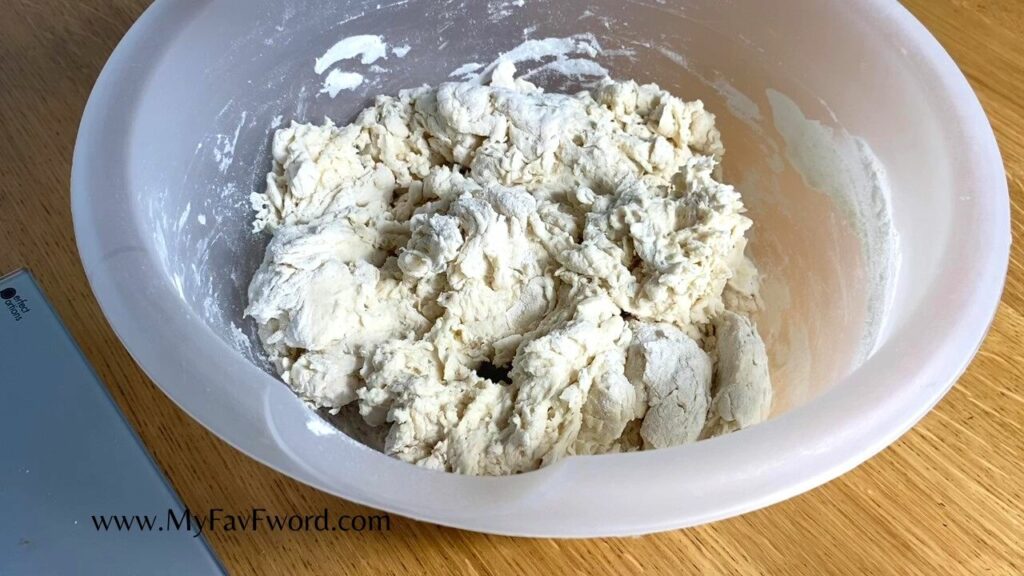
Mix flour, yeast and salt together in a large bowl. Add water and combine just enough for the ingredients to bind. Cover and let it rise overnight (12 to 16 hours)
This is by far my favorite way to deal with yeast dough as I do not have to wait for hours (2-4 hours). During the time that is needed for rising, I just go about my day and sleep thru it. I do not have to think or wait on the dough to be ready.
The next day, when you wake up, prepare the dough for the second rise.

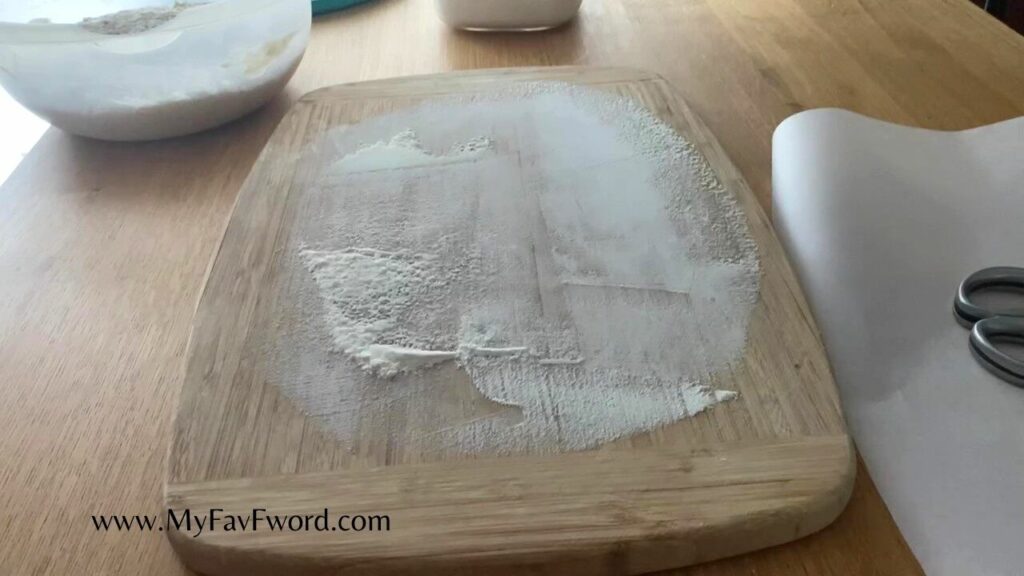
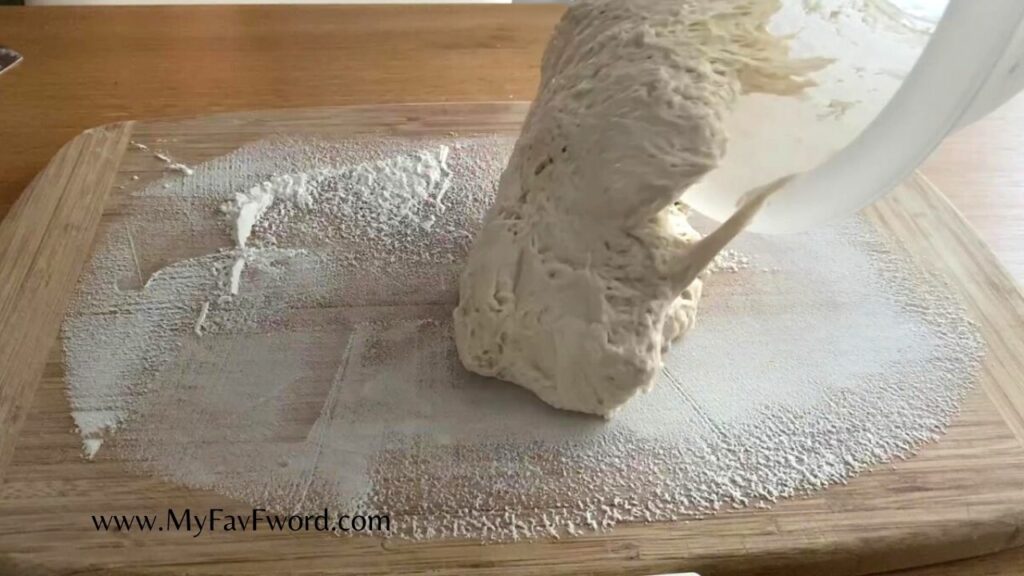
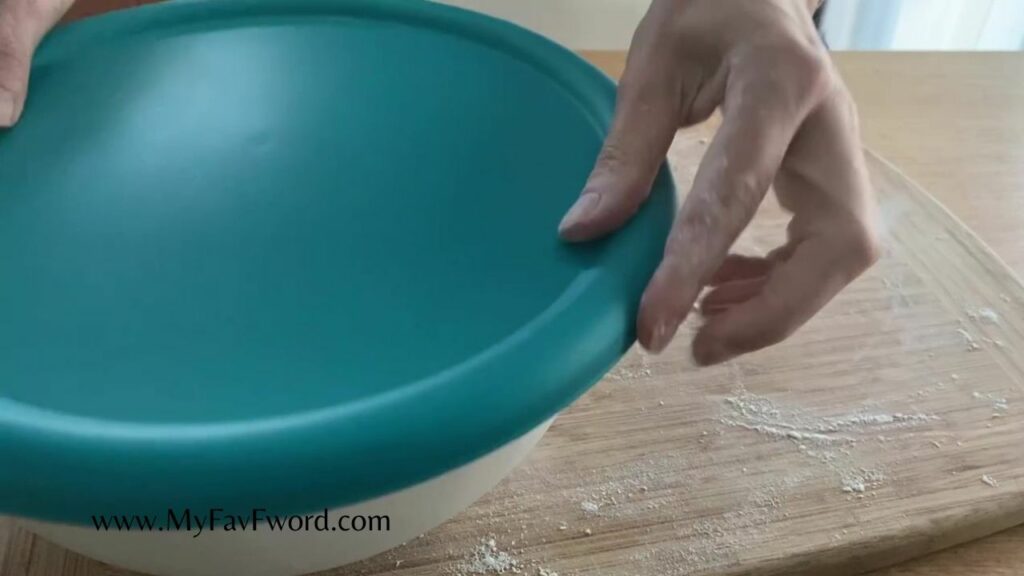
Prepare a large cutting board and sprinkle it with flour. Transfer the dough onto the floured surface and using the dough scraper form the dough into a ball.
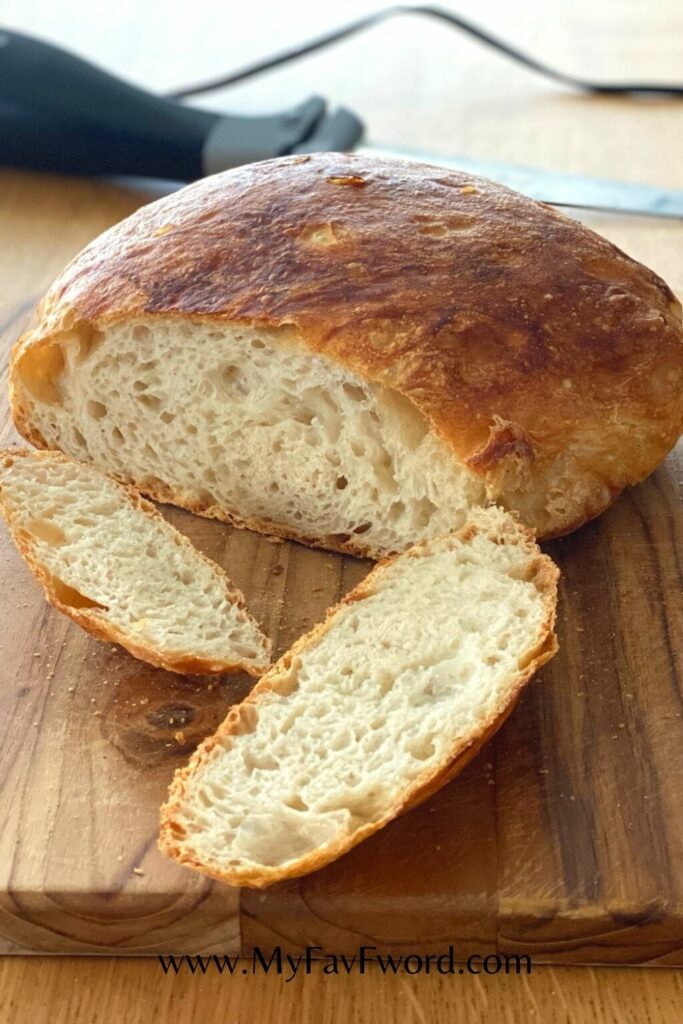
I like to make few folds with the dough. I noticed when I do that, the dough becomes light, almost ciabatta like with all the beautiful holes. It is not dense at all.

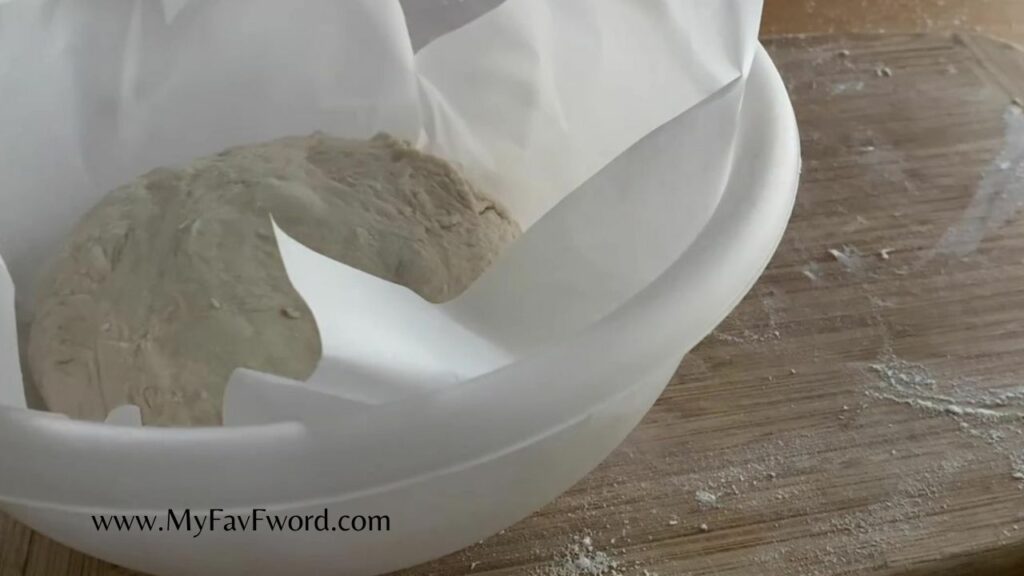
Second Rise
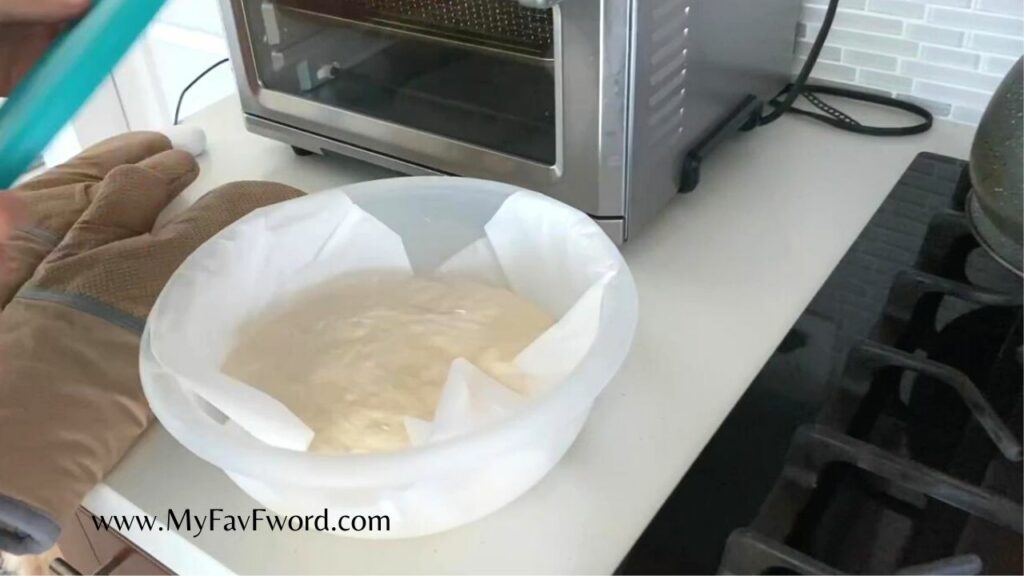
Line the bowl with a large piece of parchment paper and transfer the dough ball back into the bowl. Let it rest for another hour or even an hour and a half.
This is when I go on my morning walk so I do not have to wait for the dough to rise. It just fits in my schedule.
First thing when I come back, is to preheat the oven to 450F with the dutch oven pot in it.
This is the time for my second morning ritual which is making and having my morning latte. This way I do not wait for the oven to preheat – I am just enjoying my morning coffee.


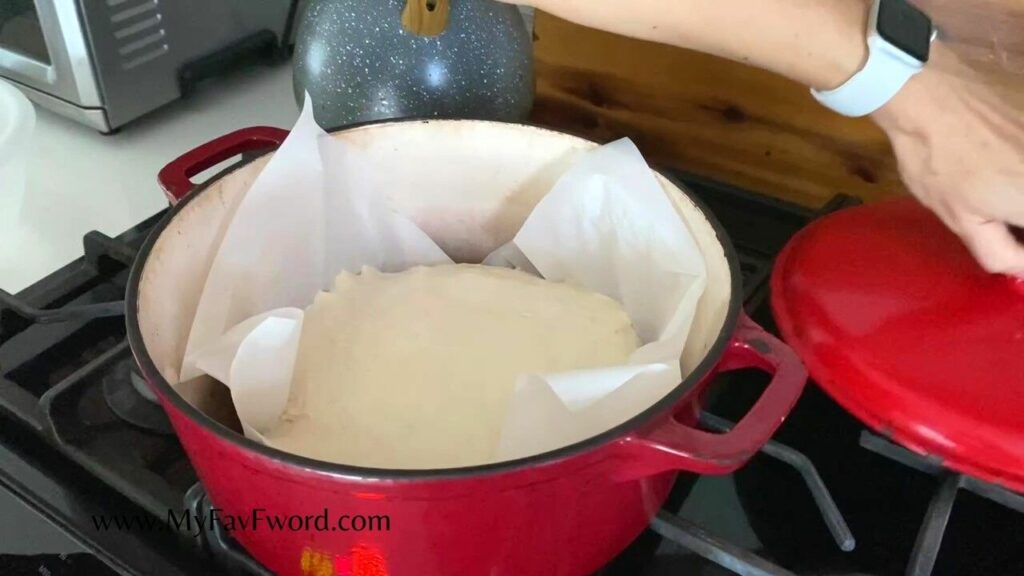
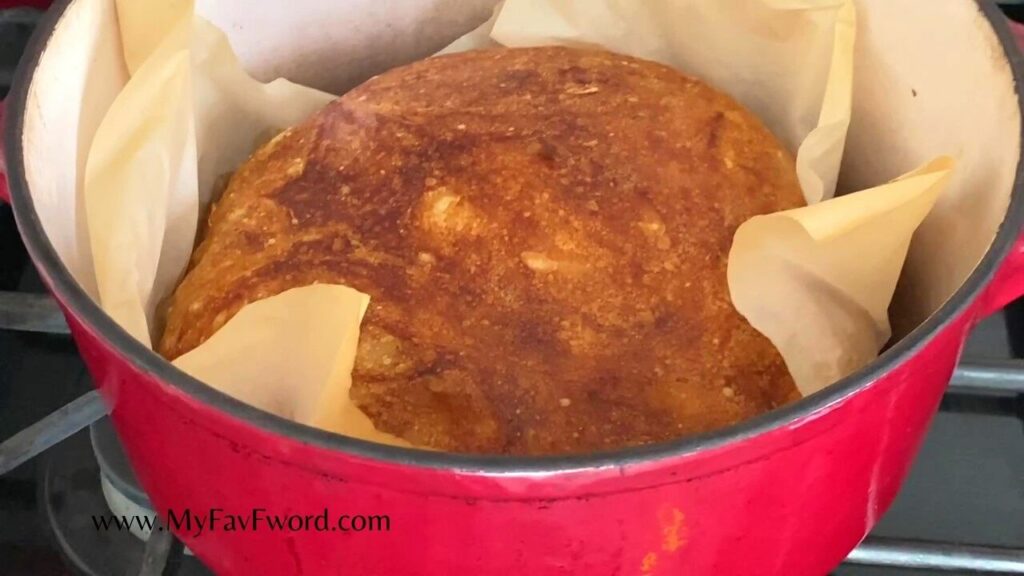
When the oven is ready, I transfer the dough with the parchment paper into the preheated pot, cover it up with a lid and bake for 15 minutes.
After 15 minutes pass, I remove the lid and bake the bread for additional 25 minutes. In the meantime, I prepare eggs, butter, tomatoes etc, for my breakfast.

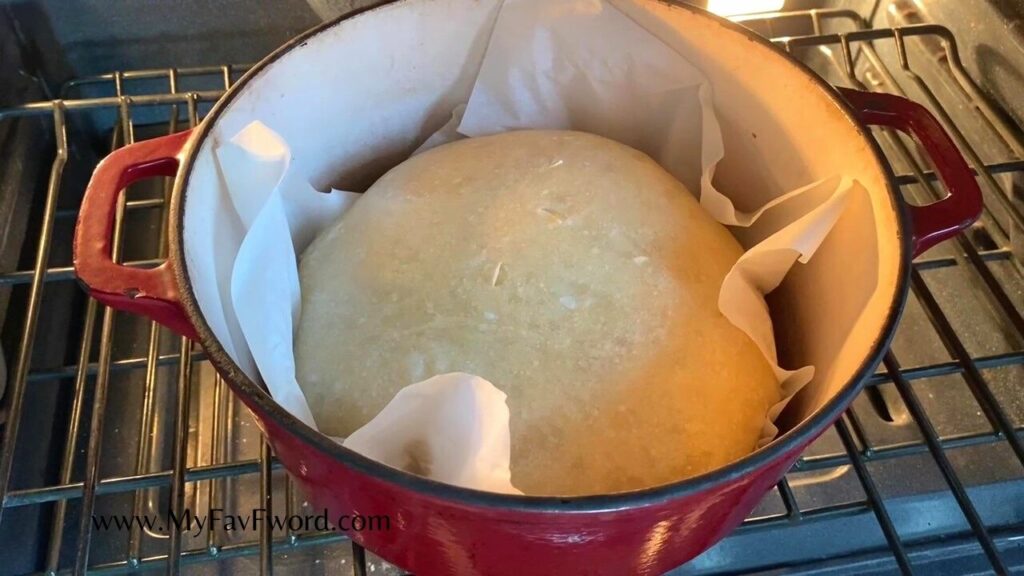
Let the bread cool for easy slicing, or if you are anything like me, just cut it hot because it tastes insanely good when it is hot!
How many calories in no knead bread and how to calculate them?
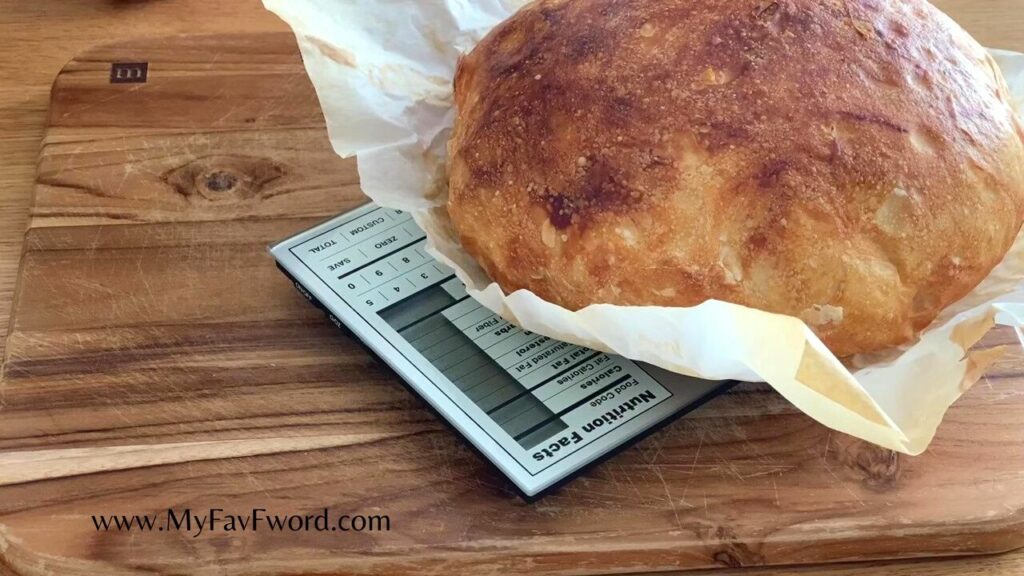
There are 67 calories in one once of the bread. And following are the steps how I calculate that:
Right after the bread is baked, I weigh it (I am using this food scale). It usually comes out to 22 – 23 ounces.
We know there are 30 grams in one serving of flour (per manufacturer). There is 110 calories in the 30 grams of flour.
I used 400 grams of flour and the rest of ingredients have no calories. My math:
400 grams divided by 30 grams = 13.33333 times 110 calories = 1,466.66 calories per whole loaf
1,466.66 calories divided by 22 ounces of loaf = 66.66 calories per ounce
I weigh each serving of bread, check how many ounces it has and calculate calories for all the bread I had that morning. I usually eat 7-8 ounces. Yes, I know, that’s a lot, one third of the loaf, but I do save my calories during the week so I can enjoy more bread on the weekend.
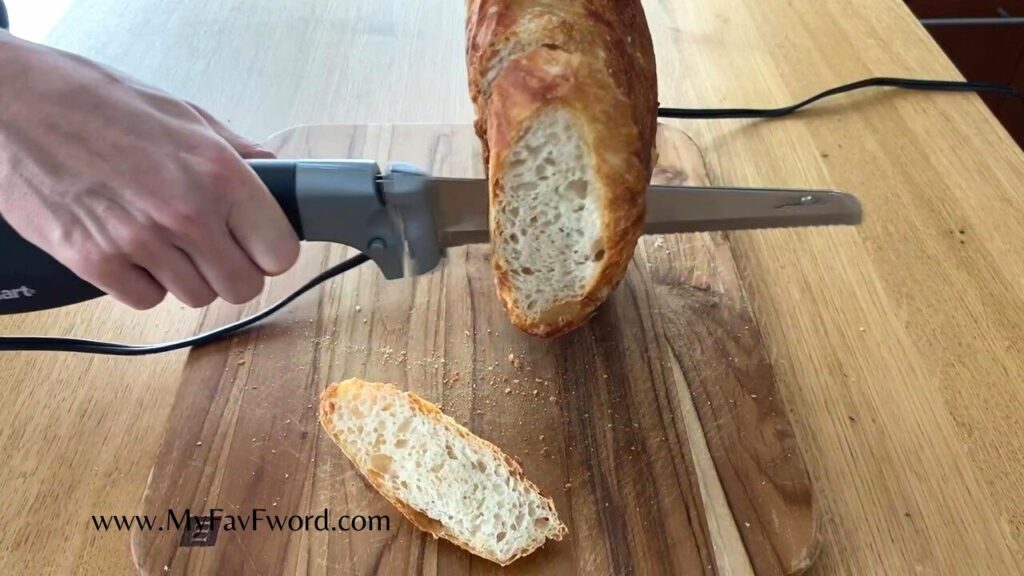
I am using an electric knife as it is much easier to cut this crunchy, hot bread.
No knead bread
Ingredients
Method
- Mix flour, yeast and salt together in a large bowl. Add water and combine just enough for the ingredients to bind. Cover and let it rise overnight (12 to 16 hours)
- The next day, when you wake up, prepare the dough for the second rise.Prepare a large cutting board and sprinkle it with flour. Transfer the dough onto the floured surface and using the dough scraper form the dough into a ball.
- Line the bowl with a large piece of parchment paper and transfer the dough ball back into the bowl. Let it rest for another hour or even an hour and a half.
- Preheat the oven to 450F with the dutch oven pot in it.
- When the oven is ready, transfer the dough with the parchment paper into the preheated pot, cover it up with a lid and bake for 15 minutes.
- After 15 minutes pass, remove the lid and bake the bread for additional 25 minutes
*Links in this blog post are affiliate links, which means at no extra cost to you, I will make a small commission if you click them and make a qualifying purchase*
After several failed attempts to make bread, I came across your video. I have not attempted to make this bread until I get all the right tools to make it exactly like yours. And besides the bread, I enjoyed your video about not waiting around for it to bake. Enjoying the process is also very important. Thank you for sharing your beautiful scenery.
thank you Virginia 🙂 I hope you will enjoy the bread as much as I do
1st time and it worked great. not bad for retired Marine.
👍not bad at all 🙂
Hello , was curious what size Dutch oven you use. Thank you for sharing your recipe and video. I can’t wait to get started.
My dutch oven is 11 inches in diameter and 4 inches high. But I think you can use a smaller one, the bread just will be taller. Have fun and let me know how it turns out 🙂
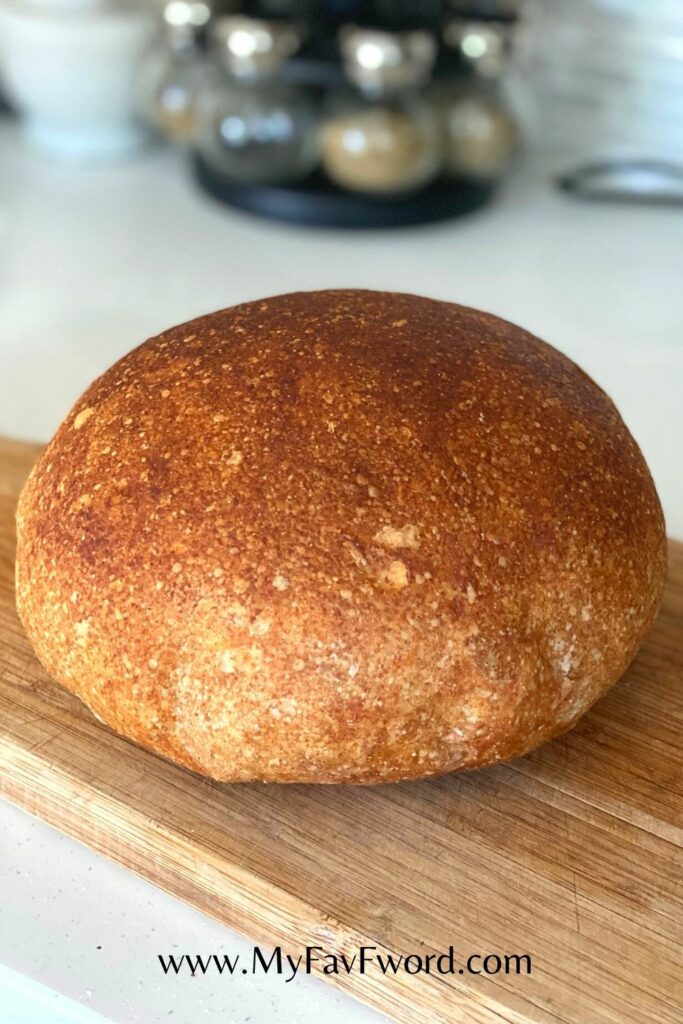
Have you tried this with Wheat Flour or Spelt?
I have tried it with wheat flour and 50/50 wheat and white flours. It comes out more dense but very good
Loaf is beautiful! I have made similar recipes thought I’d try this one & was not disappointed. Cooked a little less than the required 25 mins.. Internal temp of loaf was 206f after 20 minutes. I had it in a large bowl & checked dough a few hours later. It was “crusty” on top – mixed & covered the dough itself will oil sprayed plastic wrap & covered bowl. Dough was perfect the next morning. Thank you for your detailed instructions & photos – this will be my go to from now on.
thank you for sharing your experience:) I am so happy you like the recipe.
Further to my earlier comments – I cut the loaf & it is lovely. Soft texture & the crust is not tough. So impressed! Thanks again for this amazing recipe.
you’re welcome😊
I have been making this recipe for probably two years now. I double it for a bigger loaf and add all sorts of stuff to it. Sausage and cheese, sesame seeds, everything bagel blend, onions and pablanos. Thanks for the recipe I love it such a nice simple recipe and well explained. Thank you!
It makes me so happy that you have been using this recipe for sooo long, and made it your own:) Thank you so much for sharing